今回はUnityのStandardAssetsにあるVignetteAndChromaticAberrationを使ってカメラレンズを覗きこんだような効果を出してみたいと思います。
VignetteAndChromaticAberrationを使うとカメラの四隅を暗くしたりぼやけさせたりすることが出来ます。
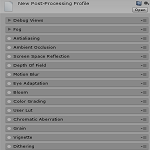
Unity5.6以降のバージョンをお使いの方はPost Processing Stackを使用してください。
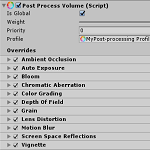
UnityのPostProcessing機能のV2について
UnityのPostProcessing機能のV2について見ていきます。
VignetteAndChromaticAberration
カメラのインスペクタのAdd ComponentからImage Effects→Camera→Vignette And Chromatic Aberrationを選択します。
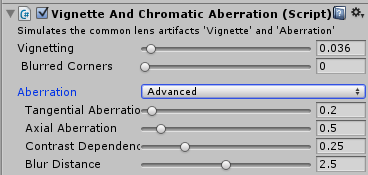
Vignettingは四隅を暗くする度合い
Blurred Cornersは四隅をぼやけさせる度合い
Blur Distanceはぼやけさせる距離
Aberrationは色収差の設定でSimpleだと接線の色収差をし四隅のみに限定し、Advancedだと色収差の強化設定が出来ます。
Simpleモードの時のChromatic Aberrationは色収差の強度になります。
Advancedモードだと
Tangencial Aberrationで接線方向の色収差の値
Axial Aberrationは軸方向の色収差の値
Contrast Dependencyは収差のしきい値
Blur Distanceはぼやけさせる距離
です。
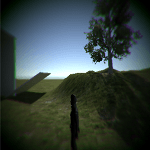
いつものように実行して確認してみましょう。
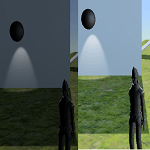
↑のようになりました。
用途としては隠れている場所から覗き穴を使って外を確認するような状況等でしょうか?
他の用途もありそうですね。
